I did not trust a skillet cookie for two. Honestly, the whole concept felt like a gimmick—a way to use a cute pan and end up with a half-baked, doughy mess that was somehow both too much and not enough. I’d tried a few recipes before, and they always disappointed. The edges would burn before the center set, or the cookie would be so greasy it slid around the cast iron like a hockey puck. So when my husband asked for something sweet one random Tuesday night, I almost grabbed two store-bought cookies instead. But then I remembered a small pulled pork for two recipe I’d nailed last month—proof that scaling down a classic could actually work. Maybe I was overthinking this.
I pulled out my tiny 6-inch skillet, the one that usually holds a single egg, and decided to treat this like a science experiment. I halved my go-to chocolate chip cookie recipe, tweaked the butter-to-flour ratio, and crossed my fingers. The first batch came out edible but flat. The second was too cakey. By the third attempt, I had a cookie with crispy, buttery edges and a gooey, molten center that almost made me tear up. It was the kind of dessert that makes you forget you’re eating it alone (or with one other person). No leftovers, no temptation—just pure, undivided chocolatey joy.
That skillet cookie changed my Tuesday nights. It also taught me that baking for two doesn’t mean sacrificing texture or flavor. You just need the right proportions and a little patience. This small-batch chocolate chip skillet cookie for two is the result of those messy experiments, and I’m genuinely proud of it. It’s not a compromise—it’s the best version of a classic, scaled down without losing any of the magic. Trust me, I tested it until I had no doubts left.
Why You’ll Love This Recipe
This isn’t just another cookie recipe—it’s the one I’ve made for date nights, post-dinner cravings, and even breakfast (no judgment). Here’s why it works so well:
- Perfectly Portioned for Two: No more eating an entire batch of cookies because you “didn’t want them to go stale.” This skillet cookie serves two generous portions, or one very happy person with zero leftovers.
- No Fancy Ingredients: You probably have everything in your pantry right now. Butter, sugar, eggs, flour, chocolate chips—that’s it. No obscure extracts or specialty flours required.
- Ready in 25 Minutes: From start to warm, gooey finish, this cookie comes together faster than you can watch an episode of your favorite show. Perfect for last-minute dessert emergencies.
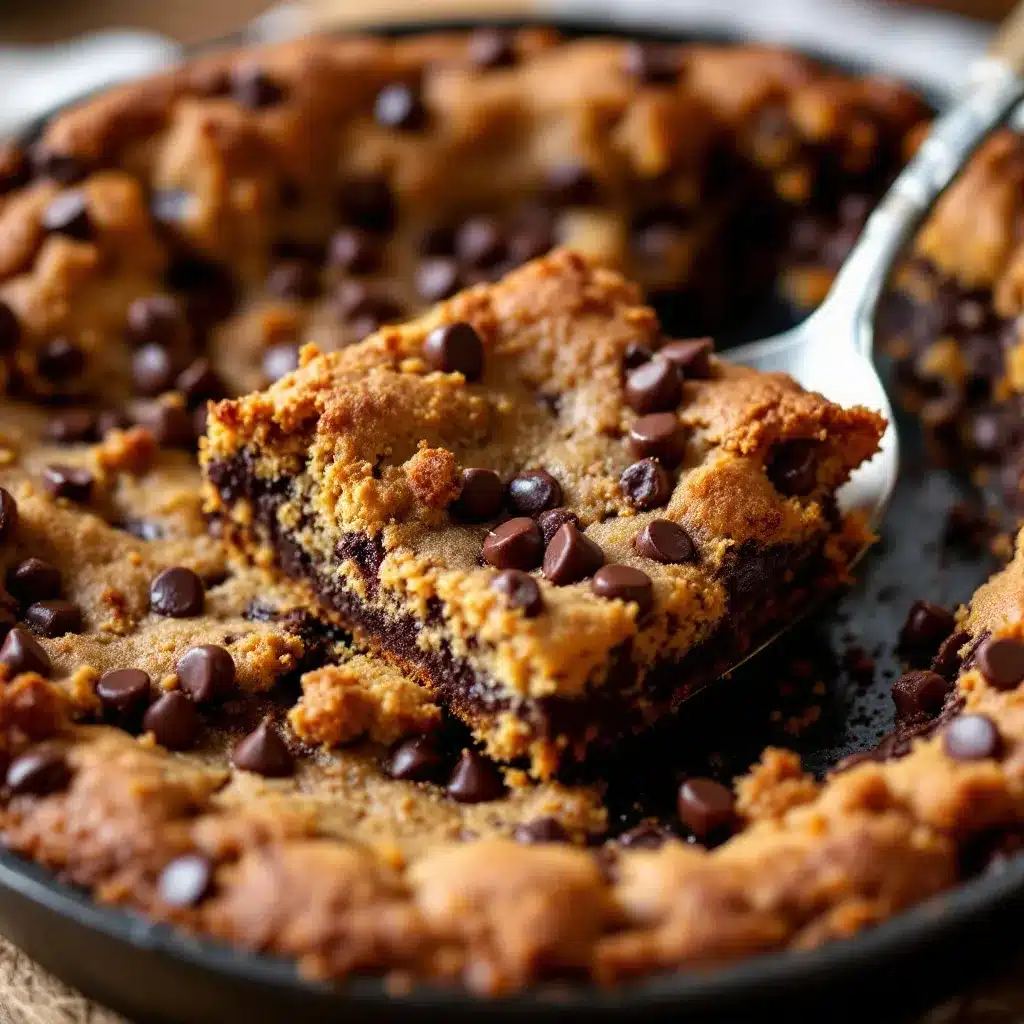
- Crispy Edges + Gooey Center: The cast iron skillet gives you that perfect contrast—crispy, caramelized edges with a soft, almost underbaked center. It’s the texture dream team.
- Crowd-Pleaser (Even for a Crowd of Two): My husband, who claims he “doesn’t have a sweet tooth,” ate half of this in under five minutes. It’s that good.
- Easy to Customize: Swap in dark chocolate, add nuts, or throw in a sprinkle of sea salt. The base recipe is forgiving and flexible.
What makes this recipe different from the rest? It’s the butter-to-flour ratio I landed on after three failed attempts. Most small-batch recipes use too much butter, which makes the cookie spread into a greasy puddle. I found the sweet spot where the cookie holds its shape but stays tender. Plus, I use a slightly higher ratio of brown sugar to white sugar, which gives it that deep, almost toffee-like flavor. This isn’t just a scaled-down version of a full cookie—it’s a recipe designed specifically for a 6-inch skillet, and it shows in every bite.
What Ingredients You Will Need
This recipe relies on simple, pantry-friendly ingredients that work together to create a cookie with structure, chew, and deep flavor. Here’s what you’ll need and why each one matters:
For the Cookie Dough
- Unsalted butter (4 tablespoons, softened): Butter is the backbone of this cookie. Using unsalted butter lets you control the salt level. Make sure it’s softened to room temperature—cold butter won’t cream properly with the sugar, leading to a dense cookie.
- Light brown sugar (3 tablespoons, packed): Brown sugar adds moisture and that subtle molasses flavor that makes cookies taste “baked” and rich. I prefer light brown sugar here because it doesn’t overpower the chocolate.
- Granulated sugar (2 tablespoons): White sugar helps the cookie spread and gives those crispy edges a nice caramelization. The combination of both sugars is key.
- Large egg yolk (1, room temperature): Just the yolk. Using only the yolk adds richness and tenderness without making the dough too wet. Save the egg white for breakfast or freeze it for later.
- Vanilla extract (½ teaspoon): Pure vanilla extract adds warmth and depth. Imitation vanilla works in a pinch, but the real stuff makes a noticeable difference.
- All-purpose flour (⅓ cup, spooned and leveled): Standard all-purpose flour gives the cookie structure without making it tough. Don’t pack the flour into your measuring cup—spoon it in gently and level it off.
- Baking soda (¼ teaspoon): A small amount of baking soda helps the cookie spread slightly and gives it a tender crumb. Don’t skip it.
- Salt (¼ teaspoon): Salt balances the sweetness and enhances the chocolate flavor. I use fine sea salt for the dough and sometimes add a flaky finish on top.
- Semi-sweet chocolate chips (⅓ cup): Semi-sweet is my go-to because it’s not too sweet and not too bitter. You can use dark chocolate chips, milk chocolate, or even chopped chocolate bar pieces for a more rustic look.
Optional Add-Ins
- Flaky sea salt (for topping): A sprinkle of flaky salt right after baking takes this cookie to another level. It cuts the sweetness and adds a satisfying crunch.
- Chopped pecans or walnuts (2 tablespoons): If you like texture, fold in some toasted nuts. Just chop them small so they distribute evenly.
- Vanilla ice cream (for serving): Not an ingredient in the cookie, but highly recommended for serving. The warm cookie + cold ice cream combo is unbeatable.
Ingredient Tip: For the best texture, use a brand of chocolate chips you trust. I prefer Ghirardelli or Guittard for their consistent melt and flavor. If you’re using a cheaper brand, the chips might not melt as smoothly, but the cookie will still taste great.
Equipment Needed
You don’t need a lot of fancy tools for this recipe, but a few key pieces make the process smoother:
- 6-inch cast iron skillet: This is the star of the show. A small skillet gives you those perfect crispy edges and a gooey center. If you don’t have one, you can use a 6-inch oven-safe nonstick pan or even a small baking dish, but the cast iron really does make a difference in heat distribution.
- Mixing bowls: You’ll need one medium bowl for the wet ingredients and one small bowl for the dry ingredients. Nothing fancy—just something to hold your ingredients.
- Hand mixer or whisk: A hand mixer makes creaming the butter and sugar easier, but a sturdy whisk and some elbow grease work just fine. I’ve done it both ways.
- Rubber spatula: For folding in the chocolate chips and scraping the bowl clean. A silicone spatula is best because it won’t scratch your skillet.
- Measuring cups and spoons: Accurate measurements matter in small-batch baking. Use standard measuring cups for dry ingredients and liquid measuring cups for wet ingredients if needed (though this recipe uses mostly dry measures).
- Oven mitts: The skillet gets extremely hot. Don’t forget these—I’ve burned my fingers more times than I’d like to admit.
- Cooling rack: Optional, but placing the hot skillet on a cooling rack prevents the bottom from overcooking from residual heat.
Budget Tip: If you don’t own a small cast iron skillet, check thrift stores or online marketplaces. They’re often cheap and last forever. Alternatively, a small oven-safe ceramic dish works, though you won’t get quite the same crispy edges.
Preparation Method
Follow these steps carefully, and you’ll have a perfect skillet cookie in under 30 minutes. The key is not to overmix the dough and to keep an eye on the baking time—every oven runs a little differently.
- Preheat your oven to 350°F (175°C). Place your 6-inch cast iron skillet in the oven while it preheats. This helps the skillet get hot, which gives the cookie a nice crispy bottom. If you’re using a nonstick pan, skip this step and just grease the pan lightly.
- Melt 2 tablespoons of the butter in a small microwave-safe bowl (about 20 seconds). Set it aside to cool slightly. You’ll use this melted butter later for brushing the skillet.
- Cream the remaining 2 tablespoons of butter with the brown sugar and granulated sugar in a medium mixing bowl. Use a hand mixer on medium speed or a whisk and some muscle. Beat for about 2 minutes until the mixture looks light and fluffy. The sugar should be mostly dissolved into the butter—you’ll see it turn a pale tan color.
- Add the egg yolk and vanilla extract to the butter-sugar mixture. Beat on low speed (or whisk vigorously) until just combined. Don’t overmix here—you just want the yolk incorporated. The mixture might look slightly curdled; that’s okay.
- In a separate small bowl, whisk together the flour, baking soda, and salt. Make sure there are no lumps. This step ensures the leavening agent is evenly distributed throughout the dough.
- Gradually add the dry ingredients to the wet ingredients. Mix on low speed or fold with a spatula until just combined. Stop as soon as you no longer see streaks of flour. Overmixing at this stage will make the cookie tough.
- Fold in the chocolate chips using a rubber spatula. Distribute them evenly throughout the dough. If you want a few chips on top for presentation, reserve a small handful and press them into the top of the dough after it’s in the skillet.
- Remove the hot skillet from the oven using oven mitts. Brush the inside with the reserved melted butter using a pastry brush or paper towel. This prevents sticking and adds flavor to the edges.
- Press the cookie dough into the skillet. Use your spatula or clean hands to spread it evenly. The dough should come about halfway up the sides of the skillet—it will spread as it bakes. If you reserved some chocolate chips, press them into the top of the dough now.
- Bake for 12-15 minutes. Start checking at 12 minutes. The edges should be golden brown and set, while the center will still look slightly soft and puffy. A toothpick inserted into the center should come out with a few moist crumbs—not raw dough. If the toothpick is wet with batter, bake for another minute or two.
- Let the cookie cool in the skillet for 5 minutes on a cooling rack. The residual heat will continue to cook the center slightly. Don’t skip this step—the cookie needs to set up before serving.
- Optional: Sprinkle with flaky sea salt while the cookie is still warm. The salt will stick to the surface and add a lovely contrast to the sweetness.
- Serve warm directly from the skillet. Use two spoons to scoop out portions, or cut it in half if you’re feeling civilized. A scoop of vanilla ice cream on top is highly recommended.
Visual Cue: When the edges pull away from the skillet slightly and turn a deep golden brown, your cookie is ready. The center should still look slightly underdone—it will firm up as it cools. If the entire cookie looks fully set and firm in the oven, it’s overbaked.
Cooking Tips & Techniques
After making this recipe at least a dozen times (and failing a few of those times), I’ve picked up some tricks that make a real difference. Here’s what I’ve learned:
- Don’t skip preheating the skillet. This is the secret to those crispy edges. A hot skillet starts cooking the dough immediately, creating a barrier that keeps the center soft while the edges get golden. I learned this after my first attempt where the cookie just spread into a flat, greasy disc.
- Use room temperature ingredients. Cold butter and cold egg yolk won’t cream properly, leading to a dense, uneven cookie. Let your butter sit out for 30 minutes, and place the egg in warm water for 5 minutes if you forgot to take it out of the fridge.
- Measure flour correctly. This is the most common mistake in small-batch baking. Scooping flour directly with your measuring cup packs it down, adding extra flour that makes the cookie dry and cakey. Instead, spoon the flour into the cup and level it off with a knife.
- Watch the bake time closely. Every oven is different. My oven runs hot, so my cookie is perfect at 12 minutes. My friend’s oven takes 15 minutes. Start checking at 12 minutes and don’t walk away. The difference between a gooey center and a dry cookie is about 60 seconds.
- Let it rest. I know it’s tempting to dig in immediately, but letting the cookie cool for 5 minutes is crucial. The center needs time to set up, or you’ll end up with a soupy mess. Trust me—I’ve burned my tongue and eaten raw dough more times than I care to admit.
- Double the recipe if needed. This recipe is designed for a 6-inch skillet, but if you want to serve more people, double the ingredients and use an 8-inch skillet. Increase the bake time by 2-3 minutes.
My Biggest Mistake: On my second attempt, I used cold butter straight from the fridge. The dough was lumpy, the cookie spread unevenly, and the edges burned before the center was done. It was a sad, greasy mess. Now I always set my butter out ahead of time—lesson learned.
Variations & Adaptations
This small-batch chocolate chip skillet cookie for two is incredibly versatile. Here are some of my favorite ways to change it up:
- Dark Chocolate & Sea Salt: Swap semi-sweet chips for dark chocolate (60-70% cacao). The bitterness pairs beautifully with a generous sprinkle of flaky sea salt on top. This is my go-to when I want something a little more sophisticated.
- Peanut Butter Swirl: After pressing the dough into the skillet, drop small spoonfuls of creamy peanut butter (about 2 tablespoons) on top and swirl it in with a knife. The peanut butter gets all melty and creates pockets of salty, nutty goodness. Just make sure the peanut butter is at room temperature so it swirls easily.
- Gluten-Free Option: Substitute the all-purpose flour with a 1:1 gluten-free baking flour blend (like Bob’s Red Mill or King Arthur). The texture will be slightly more tender and crumbly, but it still tastes delicious. Add an extra tablespoon of flour if the dough feels too wet.
- Double Chocolate: Reduce the flour to ¼ cup and add 2 tablespoons of unsweetened cocoa powder. Use dark chocolate chips for an extra-rich, fudgy cookie. This version is dangerously good—you’ve been warned.
- Vegan Version: Use vegan butter (like Miyoko’s or Earth Balance) and replace the egg yolk with 1 tablespoon of flaxseed meal mixed with 2.5 tablespoons of water (let it sit for 5 minutes to form a gel). The texture won’t be quite as rich, but it’s still a solid cookie. Use dairy-free chocolate chips to keep it fully vegan.
Personal Favorite: The peanut butter swirl version is my husband’s absolute favorite. I make it on weekends when we’re feeling indulgent. The combination of chocolate and peanut butter is just unbeatable, and the swirl creates these little pockets of gooey goodness that are impossible to resist.
Serving & Storage Suggestions
This skillet cookie is best served warm, straight from the oven. Here’s how to make the most of it:
- Serving Temperature: Serve the cookie warm, but not piping hot. Let it cool for 5 minutes so the center sets up slightly. A warm cookie with a scoop of vanilla ice cream is the classic pairing—the cold creaminess balances the warm, gooey cookie perfectly.
- Presentation: Place the hot skillet on a wooden board or trivet. Sprinkle with flaky sea salt and a few extra chocolate chips for visual appeal. Provide two spoons for a shared, casual dessert. It’s rustic and charming—perfect for a cozy night in.
- Complementary Dishes: This cookie pairs beautifully with a glass of cold milk, a scoop of coffee ice cream, or a drizzle of caramel sauce. If you’re feeling fancy, serve it alongside a dairy-free fruit pizza for a dessert spread that’s both indulgent and refreshing.
- Storage: If you somehow have leftovers, cover the skillet tightly with foil or plastic wrap and store at room temperature for up to 2 days. The cookie will lose some of its crispiness, but it’s still delicious. You can also transfer leftover cookie to an airtight container.
- Reheating: To revive the crispy edges, reheat the cookie in the skillet in a 350°F oven for 5 minutes. Alternatively, microwave individual portions for 15-20 seconds—the center will get gooey again, but the edges won’t crisp up. If you’re using the microwave, place a damp paper towel over the cookie to prevent it from drying out.
- Flavor Development: Interestingly, the flavors actually deepen after a day. The brown sugar and vanilla meld together, and the chocolate chips become more pronounced. It won’t be as texturally perfect as fresh, but the flavor is still fantastic. I’ve been known to eat cold skillet cookie straight from the fridge for breakfast—no regrets.
Nutritional Information & Benefits
While this is definitely a treat, knowing what’s in it helps you enjoy it mindfully. Here are the estimated nutritional values for one serving (half the cookie, without ice cream):
- Calories: Approximately 420-450 calories
- Fat: 24g (14g saturated)
- Carbohydrates: 52g (34g sugar, 2g fiber)
- Protein: 5g
- Sodium: 280mg
Health Benefits of Key Ingredients: Dark chocolate (if you use it) contains antioxidants called flavonoids, which may support heart health. Butter provides vitamin A and healthy fats, while eggs offer protein and B vitamins. The brown sugar adds a small amount of molasses, which contains trace minerals like calcium and iron.
Dietary Considerations: This recipe is vegetarian. For gluten-free, vegan, or dairy-free options, see the variations section above. It contains gluten, dairy, and eggs as written, so adjust accordingly for allergies.
Personal Perspective: I believe in enjoying desserts without guilt. This skillet cookie is a small indulgence—perfectly portioned so you don’t overdo it. Pair it with a balanced meal and savor every bite. Life’s too short for bad cookies (or guilt about good ones).
Conclusion
This small-batch chocolate chip skillet cookie for two is proof that you don’t need a crowd to enjoy a homemade dessert. It’s quick, simple, and delivers that perfect combination of crispy edges and gooey center that makes a skillet cookie so special. Whether you’re making it for a date night, a cozy evening alone, or just because you deserve a treat, this recipe never disappoints.
I’ve tested this recipe more times than I can count, and I’m confident it will work for you. But don’t be afraid to make it your own—swap in your favorite chocolate, add some nuts, or top it with a scoop of ice cream. The beauty of this cookie is its flexibility. And if you try it, I’d love to hear how it turned out. Leave a comment below, share your photos, or tell me about your favorite variation. Happy baking, and remember—sometimes the best desserts are the ones you share with just one other person (or keep all to yourself—I won’t tell).
Frequently Asked Questions
Can I make this cookie in a regular baking dish instead of a skillet?
Yes, absolutely. Use a small 6-inch oven-safe baking dish or even a ramekin. The baking time will be similar, though the edges won’t get quite as crispy because the heat distribution is different. Grease the dish well before adding the dough.
Can I use all white sugar instead of brown sugar?
You can, but the cookie will be less chewy and have a simpler flavor. Brown sugar adds moisture and that subtle molasses taste that makes the cookie feel richer. If you’re in a pinch, use all granulated sugar, but add an extra tablespoon of butter to compensate for the lost moisture.
How do I know when the cookie is done without overbaking it?
Look for golden brown edges that are set and slightly pulling away from the skillet. The center should still look soft and slightly puffy—it will continue to cook as it cools. A toothpick inserted into the center should come out with moist crumbs, not raw batter. If the entire cookie looks firm and set, it’s overbaked.
Can I double this recipe for a larger skillet?
Yes, double all the ingredients and use an 8-inch skillet. Increase the bake time by 2-3 minutes, and start checking at 14 minutes. You may need to adjust slightly depending on your oven. The same visual cues apply—golden edges, soft center.
What’s the best way to reheat leftover skillet cookie?
For crispy edges, reheat in a 350°F oven for 5 minutes. For a quick fix, microwave individual portions for 15-20 seconds—the center will get gooey again, but the edges won’t crisp up. If using the microwave, place a damp paper towel over the cookie to prevent drying.
Pin This Recipe!
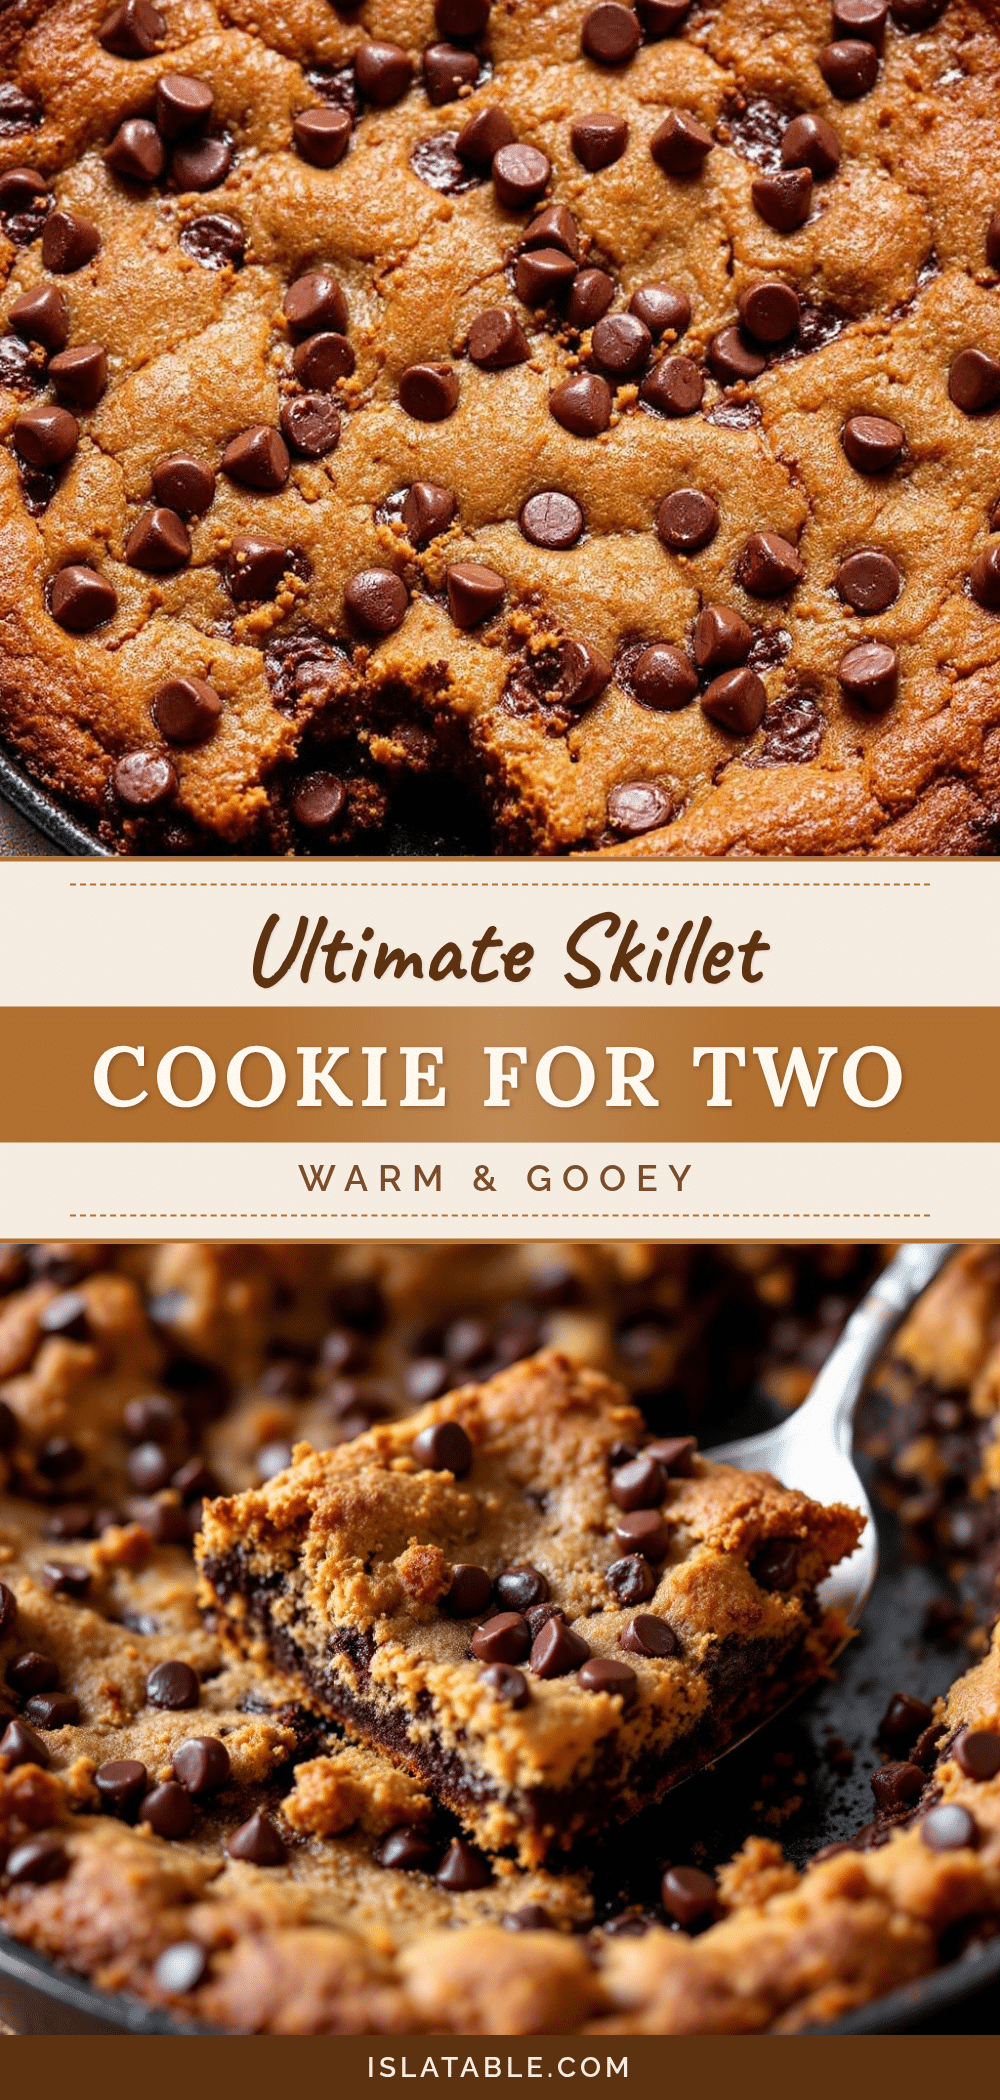
Small-Batch Chocolate Chip Skillet Cookie for Two

A perfectly portioned chocolate chip skillet cookie for two with crispy edges and a gooey center, ready in 25 minutes. This small-batch recipe uses simple pantry ingredients and a 6-inch cast iron skillet for a quick, indulgent dessert.
- Prep Time: 10 minutes
- Cook Time: 15 minutes
- Total Time: 25 minutes
- Yield: 2 servings 1x
- Category: Dessert
- Cuisine: American
Ingredients
- 4 tablespoons unsalted butter, softened
- 3 tablespoons light brown sugar, packed
- 2 tablespoons granulated sugar
- 1 large egg yolk, room temperature
- ½ teaspoon vanilla extract
- ⅓ cup all-purpose flour, spooned and leveled
- ¼ teaspoon baking soda
- ¼ teaspoon salt
- ⅓ cup semi-sweet chocolate chips
- Flaky sea salt (for topping, optional)
- 2 tablespoons chopped pecans or walnuts (optional)
- Vanilla ice cream (for serving, optional)
Instructions
- Preheat your oven to 350°F (175°C). Place your 6-inch cast iron skillet in the oven while it preheats.
- Melt 2 tablespoons of the butter in a small microwave-safe bowl (about 20 seconds). Set aside to cool slightly.
- Cream the remaining 2 tablespoons of butter with the brown sugar and granulated sugar in a medium mixing bowl. Beat for about 2 minutes until light and fluffy.
- Add the egg yolk and vanilla extract to the butter-sugar mixture. Beat on low speed until just combined.
- In a separate small bowl, whisk together the flour, baking soda, and salt.
- Gradually add the dry ingredients to the wet ingredients. Mix on low speed or fold with a spatula until just combined.
- Fold in the chocolate chips using a rubber spatula. Reserve a small handful for topping if desired.
- Remove the hot skillet from the oven using oven mitts. Brush the inside with the reserved melted butter.
- Press the cookie dough into the skillet, spreading evenly. Press reserved chocolate chips into the top if using.
- Bake for 12-15 minutes, until edges are golden brown and set, and center is still slightly soft and puffy.
- Let the cookie cool in the skillet for 5 minutes on a cooling rack.
- Optional: Sprinkle with flaky sea salt while still warm.
- Serve warm directly from the skillet, optionally with vanilla ice cream.
Notes
For best results, use room temperature ingredients. Preheat the skillet for crispy edges. Measure flour by spooning and leveling. Watch bake time closely; start checking at 12 minutes. Let the cookie rest for 5 minutes before serving. Double the recipe for an 8-inch skillet and increase bake time by 2-3 minutes.
Nutrition
- Serving Size: 1/2 of the cookie
- Calories: 435
- Sugar: 34
- Sodium: 280
- Fat: 24
- Saturated Fat: 14
- Carbohydrates: 52
- Fiber: 2
- Protein: 5
Keywords: small-batch, skillet cookie, chocolate chip, for two, cast iron, easy dessert, quick dessert


